Removing the stitches

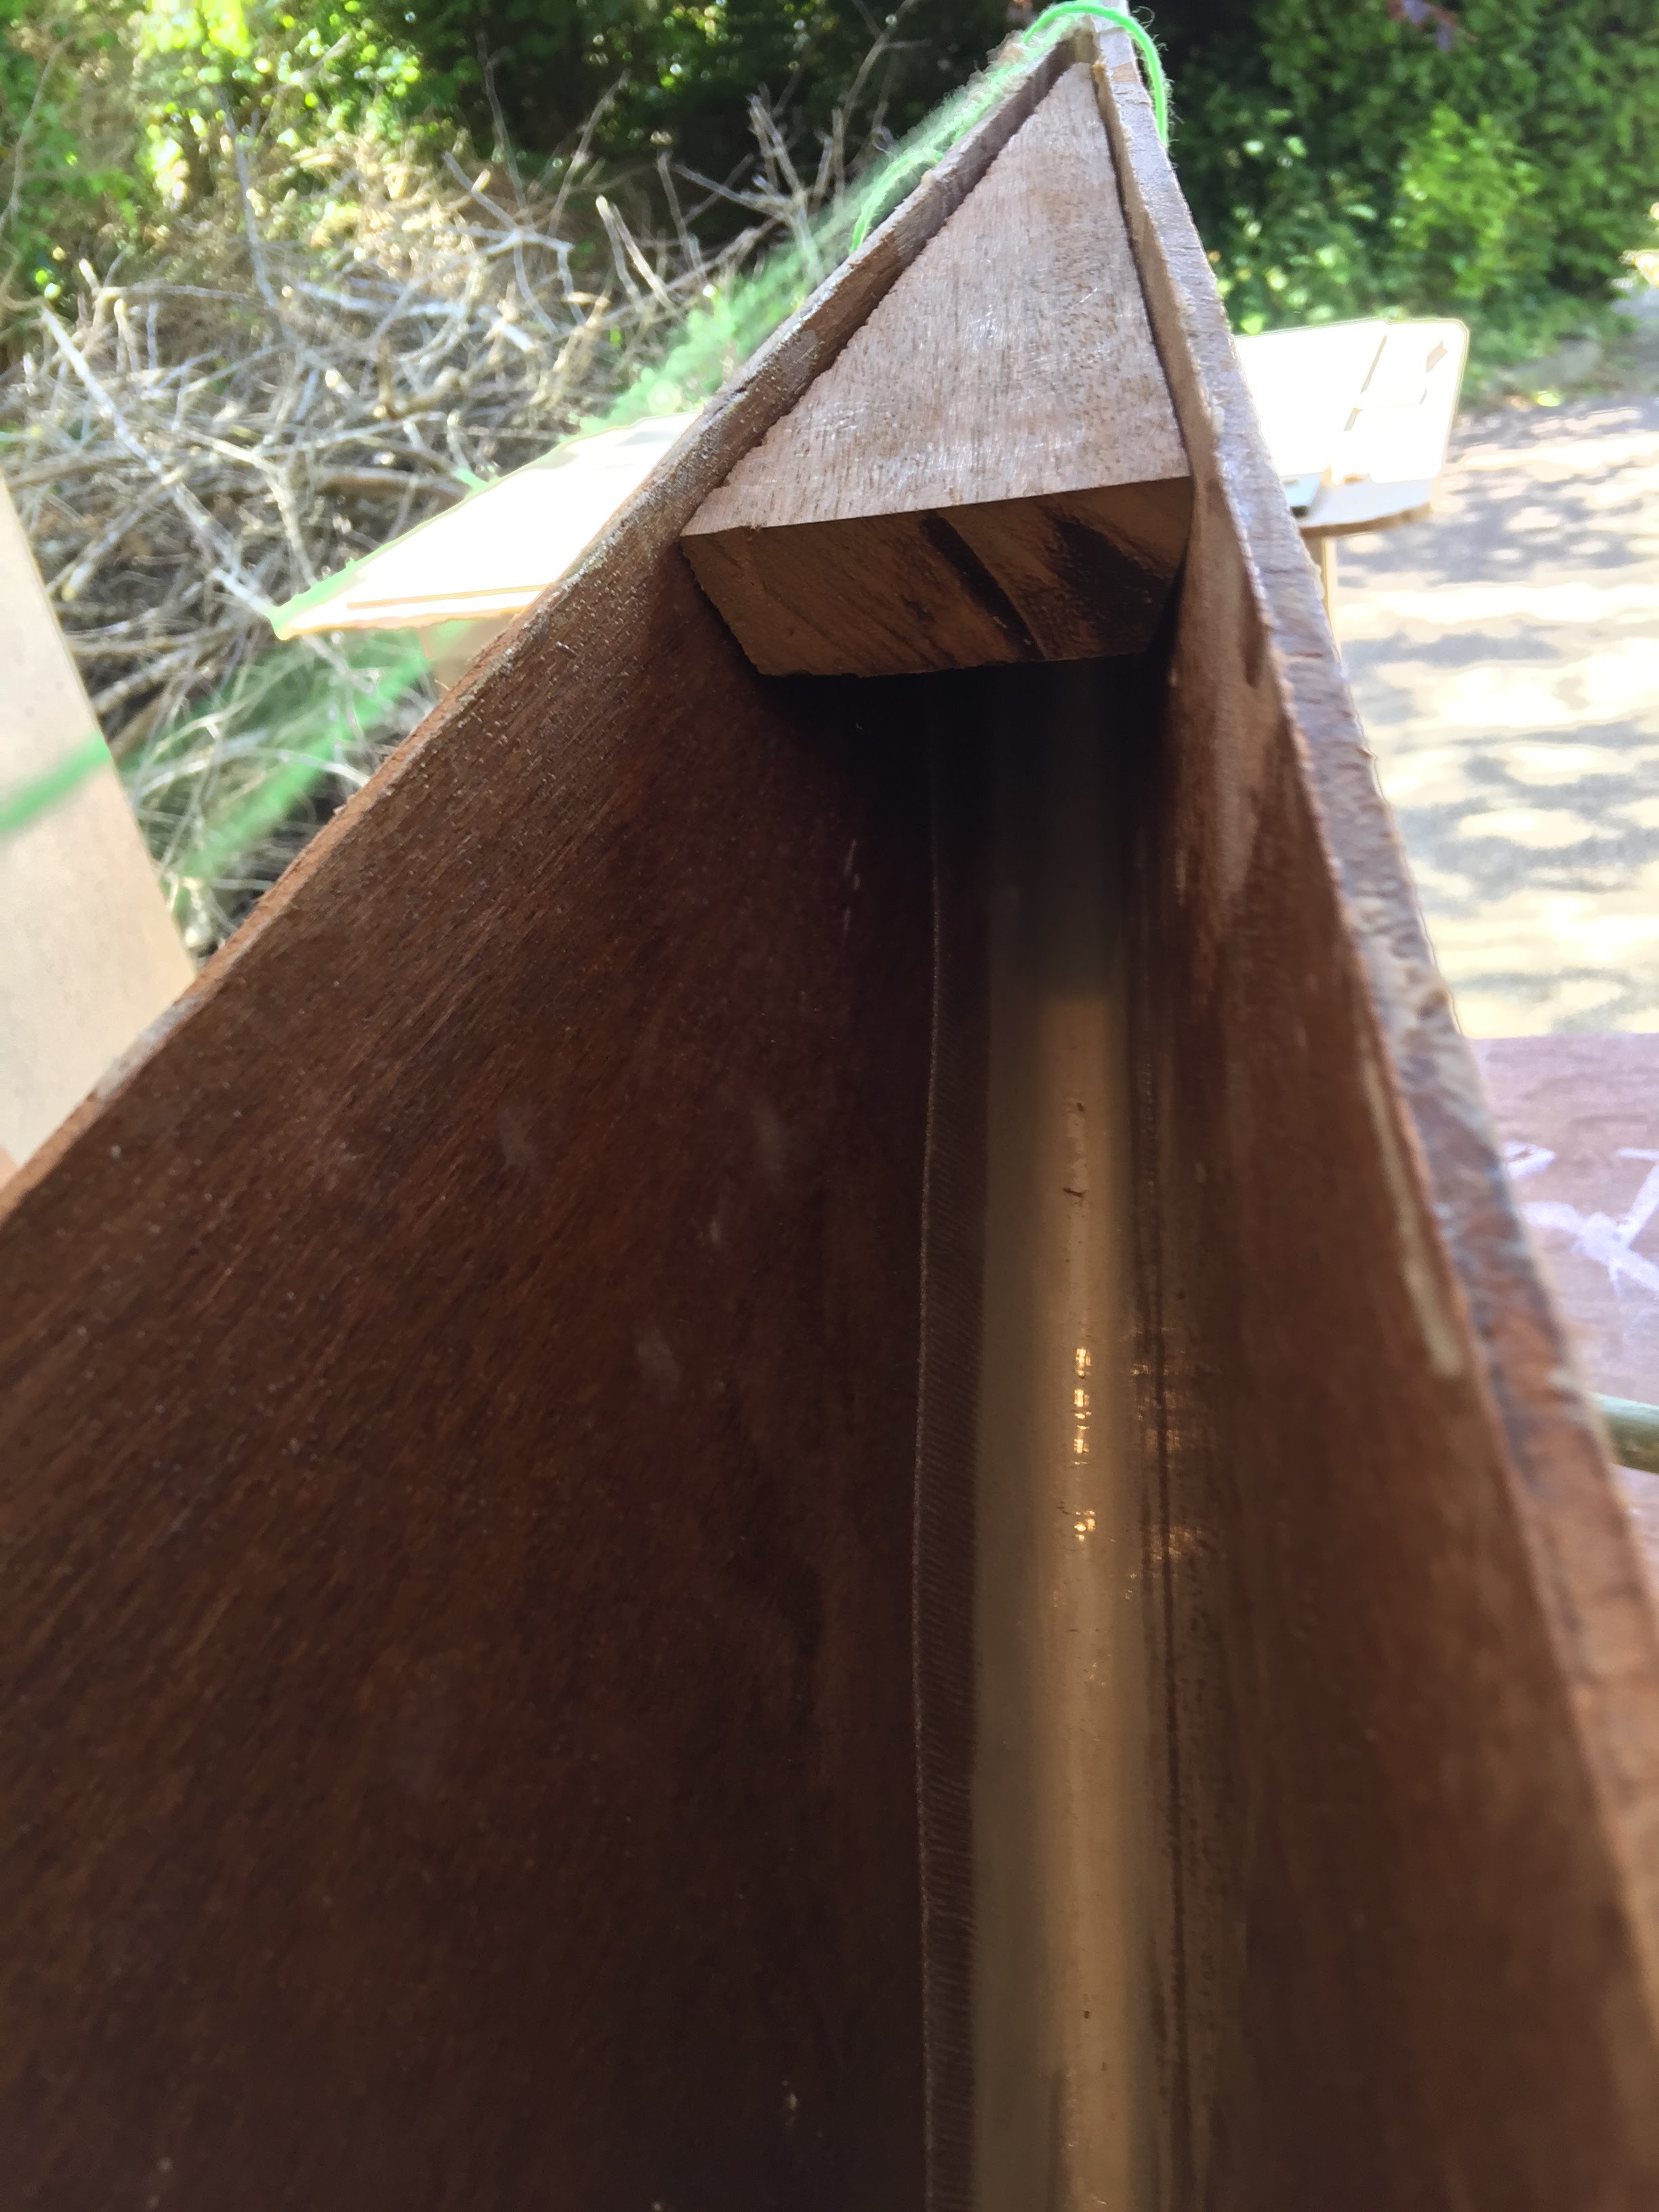
 At this stage I need to remove the stitches from the filleted seams. To do this I use a heat gun and a pliers. 

Clipping the copper just below the twist I apply the heat gun to the wire. This heats up the wire allowing it to become loose within the fillet. I then apply light pressure with the pliers and gently tug. In most cases the copper wire slides out without any problems.


Once the wire is removed I can then proceed with laying 10oz fiberglass tape on both sides of the fillet.
With the outside of the hull and the inside of the hull taped at the seams the hull is more structurally sound.


Making the Breast and Bow Hook

I always keep my timber cutoffs as they often become useful later and of course timber is precious. From some older unused hardwood I took a nice piece of teak. I have had this in storage for about twenty years and before that it at as a window board for a decade in my house. Cuttings from this will make a nice breast and also bow hook. It's important that this be a hardwood as if ever the the pilot is in trouble and needs a tow the fittings for that connection will be embedded in the hook. So I have shaped up both the bow hook and the breast hook to match the shape suggested by the way that the fore and aft planking has settled.

This will be inserted with epoxy resin as the adhesive.I'd just like to add that teak is an oily wood, even this decades old piece will contain some oil so a good cleaning with an alcohol based cleaner where the joint is to be made is required. 

The Deck.

I think the deck of any boatbuilding project is a bit of a milestone.  Effectively once the deck is on this is the boat structurally complete. The deck panels were cut in segments, all four which must joined together. The forward deck assembly is made of three panels and once assembled rest on the forward bulkhead. This should allow the deck to rise as it approaches the coaming that surrounds the pilot. 


I am pleased enough with the result, there was a fair bit of repeated inserting and removing to get it right but eventually it came right. Now this boat actually looks like a kayak. Once the glue had settled and the deck is firm, I will then add a further epoxy fillet beneath it at the inner sheer, coated with more 10oz fiberglass tape. 

Careful use of a plane lets me create a nice radial at the sheerline. Its not just for cosmetic reasons though as fiberglass cloth is more suited to curves than angles and later I will have to coat this surface.
I sanded the hull smooth and made sure all chines were sanded to a radial finish. I needed to do this by hand as I needed to feel the surface. It took several days to prep the hull. 


Fibreglassing the Hull

The first fibreglassing that must be done is to tape up all the seams. I am using 10oz fibreglass tape for this. once it has adhered to the timber surface and is finished curing I must feather the edges so that that they become invisible. 

What I mean by "feathering" is that I must reduce the appearance of the edge of the tape. I need to do this by sanding the outer edges of the tape so that they decrease in a gradual thickness. I will do this until the height of the tape edge is no higher than the timber on the hull. Done correctly this will stop any unsightly lines appearing under the second layer of glass that will have to be adhered later.

Then, when the finish layer of glass is laid on top of the layers below none the seams will not show. 


Fibreglassing the Hull continued..

With the sanding and feathering complete I am now in a position to fully encapsulate the wooden hull in glass and resin. This process is done in the three stages. Firstly I lay the glass on the hull and push the resin through it with a small paint roller. This is called the adhesive coat and it is to make sure the glass fully adheres to the wood. 

Firstly I lay the glass over the hull and smooth it out by hand.  This particular weave of glass is called woven roving and because the radials are in place and the hull is smooth it conforms nicely to the boats form.

The adhesive coat ids put on with a gloss roller, this presses the resin through the glass and once it cures it bonds the glass to the hull.

This job is completed above and below.


The next two coats will be the fill coat and the finish coat but before I do those I must build the boat's coaming.


Finish Fiberglass coating..

The last two coats are now done, as it stands this boat is now usable. Realistically though, it is still just a shell and needs to be kitted out and it is also most likely that these craft will end up painted.

I am pleased so far with the process.


Thanks for reading, more soon :)


The Cockpit.

Now it is time for the cockpit to be built. At the point where the cockpit is attached the hull the structure to be built has to contend with several angle changes. The foredeck has a raised aspect and the aft deck is quite flat so in order to build a cockpit that might look well and perform well I had to build it in relation to the deck that already exists. To do this I covered the pilot position in a separating plastic film and built the cockpit up in layers. I did this with thin strips of mahogany. As I put each layer in place I glued it to the layer below and clamped the assembly to the deck, however the stretched plastic on the deck stopped the cockpit from bonding with the deck. This allowed the form to settle with the right angles while the glue cured.

The advantage of this is that I can fabricate a cockpit that fits exactly to the boat but remove it for cleaning and sanding before permanently attaching it to the hull.


A finished Kayak

 At this point I now have a finished Kayak, bar painting and rigging.

Before beginning the final finish I seal the whole craft in another coat of epoxy. 

This is done several times sealing and sanding each time. Each seal when cured is washed in a solution of warm water and vinegar to remove wax. The epoxy I am using will only cure in a vacuum so it has a wax component built into the resin,  this wax is exuded when the temperature of the epoxy rises and it seals off the resin from the air blowing it to cure.


Finish Painting.

 The end of the kayak build has arrived and it's time to finish coat the work and attach the rigging.

As this particular kayak has a nice wooden finish I have chosen to use paint on the hull and varnish on the deck. The whole kayak is already fibreglassed and has had several coats of epoxy. This fibreglass is now transparent. Epoxy can degrade in the presence of ultraviolet light so direct sunshine must be blocked out. In order to keep the deck finish looking I coat it in four layers of Epifanes spar varnish. This is a UV blocking medium and it looks well also. For the hull I have laid on a primer, and two undercoats. The final coat will be a marine paint.


Rigging.

The rigging for the kayak consists of bungie stretched across the deck and two hatches.

This arrangement I am creating is for personal taste,  I am thinking more about having something to grab onto when I am upended out of the boat than anything else. The rigging consists of anchor points bolted through the hull to reinforced points. Stainless steel bolts of grade 316 are used throughout.  I am also placing two storage hatches in the deck, one fore and one aft.


This kayak is now complete :)